Wayland and Sway
- 7 minutes read - 1337 wordsLooking back at these notes, I think it’s pretty clear that this has not been a smooth process for someone who doesn’t enjoy fiddling with configurations and installers.
To this end, the FreeBSD foundation has commissioned a special fund and set as a target this year to streamline the laptop installation/use process. I think that is entirely warranted. But, aside from one small note, I got the Wayland graphical environment installed with pretty much no hitches. That’s how great it can be; how great it should be.
Honestly, I didn’t really want Wayland and Sway, it just felt like something I
had to do in order to get the ability to view a PDF or browse the web a bit. I
really wish these capabilities were built into the buffer, but that might be a
bridge too far based on what I learned about the console (vt) subsystem.
Sway Execution Configuration
The documentation says that this is done for you:
# export XDG_RUNTIME_DIR=/var/run/user/`id -u`
That was not my experience. I added this line to my ~/.profile.
To assess:
# env |grep XDG_RUNTIME_DIR
If it’s blank, it wasn’t set.
Additionally, I made sure that the directory existed and I made sure that I
owned it and I set the permissions to 600, with my current user and the wheel
group as owners.
👀 TOIMPROVE: I don’t think this documentation is correct: “Since FreeBSD 14.1, this is created and defined automatically.” Additionally it’s stated that: “…most compositors will search the XDG_RUNTIME_DIR directory for the configuration files.”
sway(1)says: “$XDG_CONFIG_HOME/sway/config(suggested location)”
Past this, the documentation is correct.
Installation
This is one of those joyous cases where the wonderful FreeBSD documentation gets you most of the way there. On the downside, the text really needs some tuning to be readable to most individuals who don’t already know everything about a software before they install it.
- Make sure users that want to use Wayland are in the
videogroup - Install the Wayland and
seatdpackages:# pkg install wayland seatd - Sway itself really only requires you to install the
swaypackage, but due to the more modularized approach that Wayland takes over Xorg, there are more applications required to get you to a comfortable experience. I’ll cover my installation list shortly.
Sway Environment Configuration
With Sway and Wayland installed, you now need to run sway to launch the
application. As the sway(1) man page explains, you need to get a starter sway
configuration file in place. As with everything FreeBSD, it’s in a local
subdirectory: /usr/local/etc/sway/config.
If you consult the sway(1) man page, you will see that the config is
installed to $XDG_CONFIG_HOME/sway/config, but this is configurable. The
baseline configuration is solid.
With this in place, you can run sway from the console to launch your graphic
environment but, I’d recommend you check out the tips below before you
do.
With Sway up, you can and then iterate on the configuration to your heart’s delight, reload it, and see how things work. Here are a few handy tips that you might accidentally gloss over.
Tips
To find out what Sway knows about your device:
$ swaymsg get_inputs
and
$ swaymsg get_outputs
Will help you, on the input side, configure your keyboard and your pointing device and, on the output side, configure your screens, their backgrounds, etc.
Reload your sway config
Note in the config what your reload action is bound to. Mine is Logo + Shift + c. This is helpful while iterating.
Exit sway
Note in the config what your reload action is bound to. Mine is Logo + Shift + e. This is helpful while iterating.
Swap Caps
OK, find or create a device entry for your keyboard (see get_inputs below)
and add xkb_options ctrl:nocaps.
Customization / Configuration
OK, this is window manager customization territory so we are firmly outside the goals of trying to build a low-distraction machine. Nevertheless, if you get this far, the first thing that’s going to annoy you is that you don’t have a clock or battery status or something like it and that’s going to irritate you and you’re going to go off on a yak shave to add some feature. So I’m going to document what I did to get Wayland+Sway the way I like.
It’s perfectly fine to move on to our applications at this point. See you there.
The BSD documentation suggests the following installation chant:
# pkg install sway swayidle swaylock-effects alacritty dmenu-wayland dmenu
I would recommend
# pkg install sway swayidle swaylock-effects foot fuzzel
Configure Foot
I really like the foot terminal for Sway. To configure it, put your config data
in XDG_CONFIG_HOME/foot/foot.ini
I keep mine very simple with:
font=monospace:size=16

[colors]
background=FFF0e2
foreground=000000
With vim this works well with a background=light value. It also works well in
lower-glare environments.
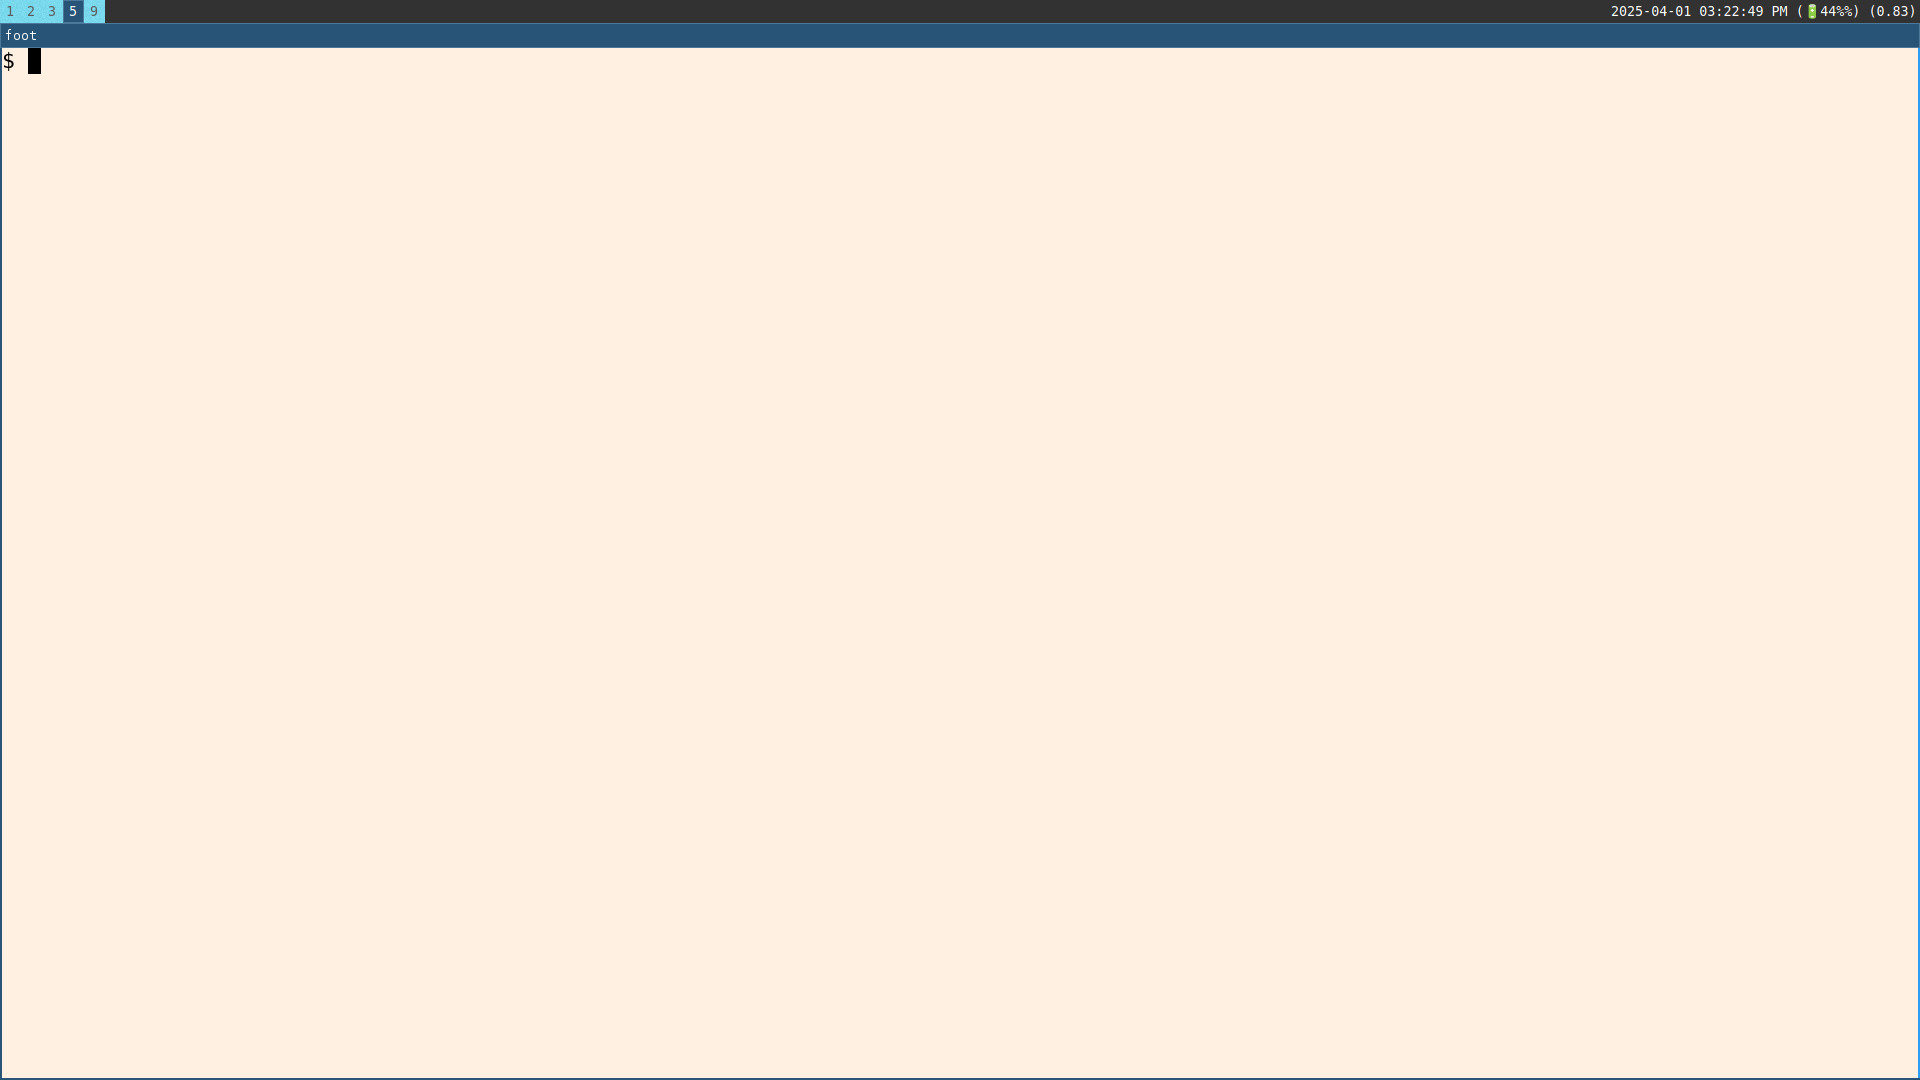
A light and eye-friendly terminal
Add a Dark Foot Configuration
Late at night or depending on glare, you might want to have a dark terminal. In this case, I add to my sway config:
bindsym $mod+Shift+Return exec $term --config $XDG_CONFIG_HOME/foot/foot.solarized-dark.ini
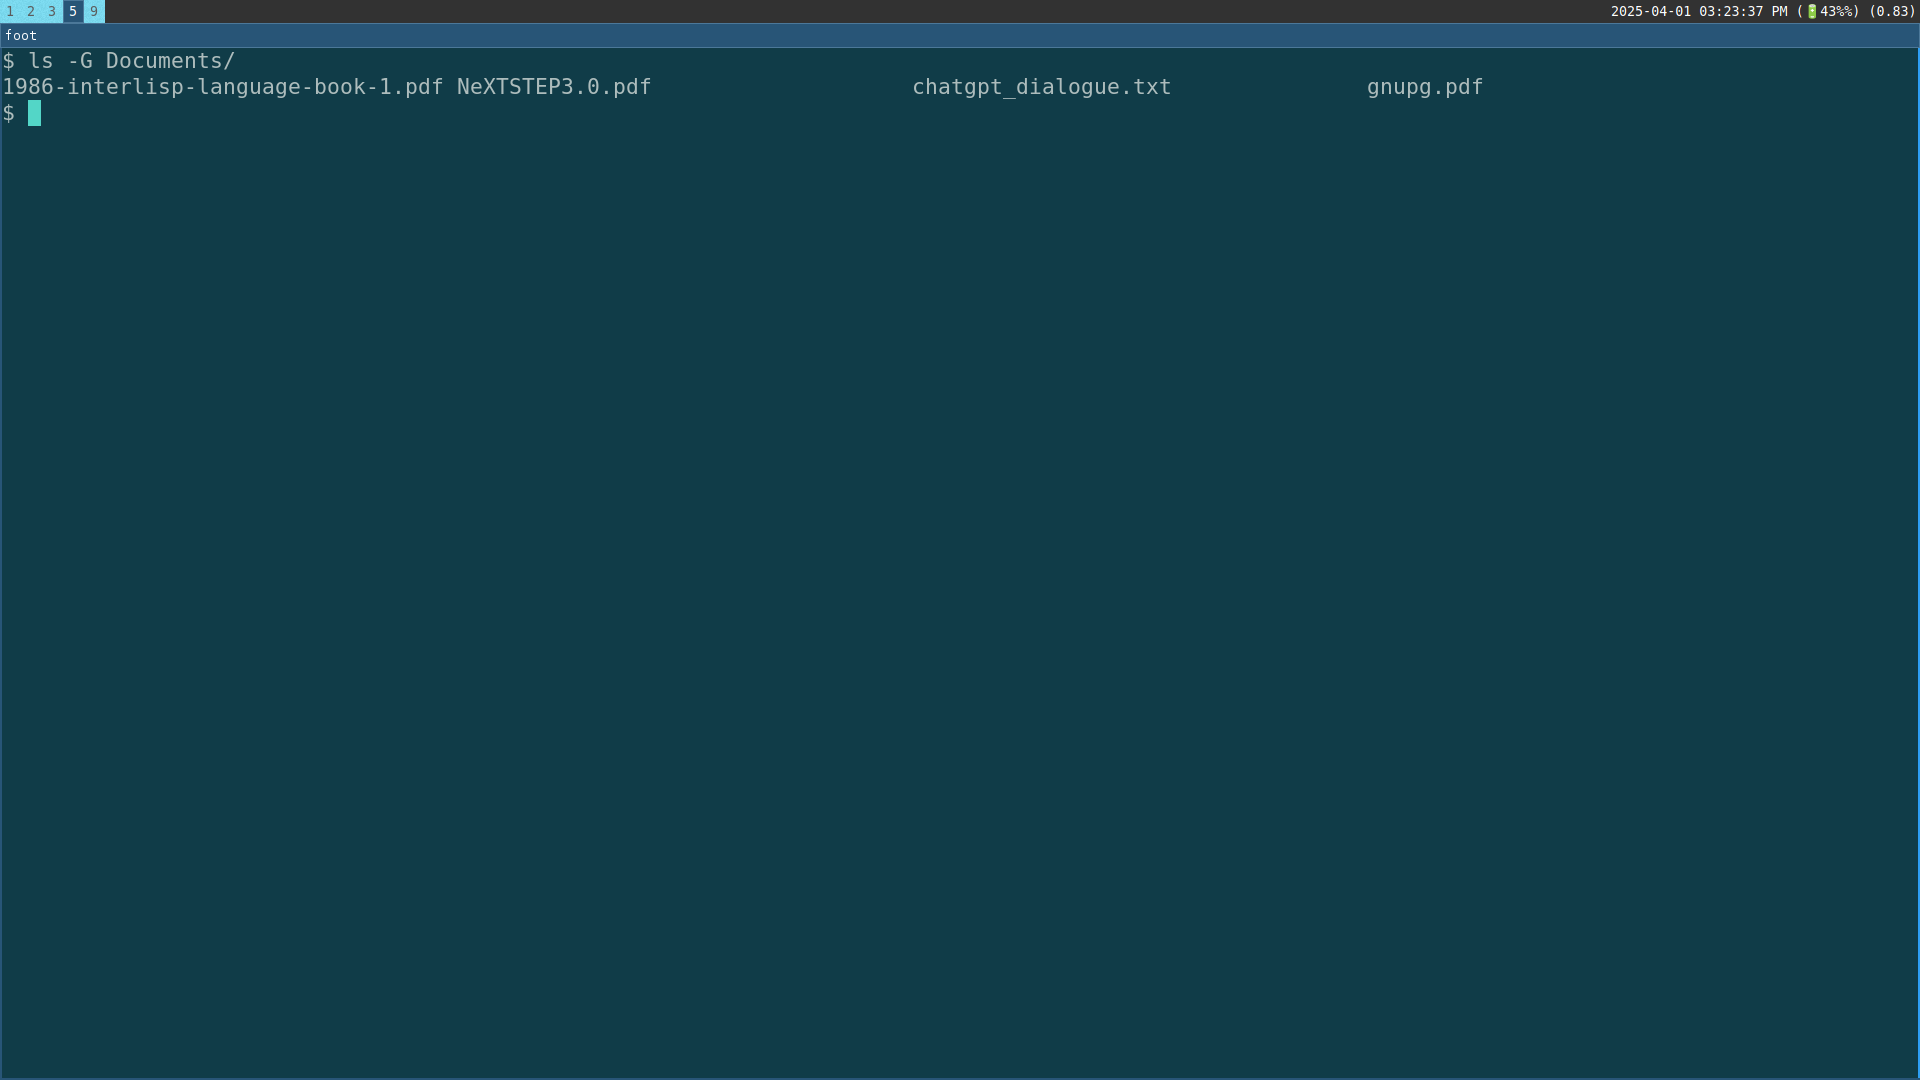
A dark and late-night, eye-friendly terminal
Which has my preferred font size (very large) as well as a call to the
include= directive as described in foot.ini(5) – available after you
install foot –which brings in the “Solarized” dark mode theme. Quick
reminder: $mod is the sway config way of denoting the “Windows” key.
Launcher
Right now, to launch an application, you need too open a terminal and then do
appname & – something that I don’t particularly hate, but for speed, let’s
install a menu.
The one I’m using is called fuzzel and you can install it with pkg(8).
Once installed, you can invoke it from the terminal and see how it provides a
nice summation of executable programs. You should bind this to a keybinding of
choice in Sway so that you have a launcher (I use $mod+d). Nice.
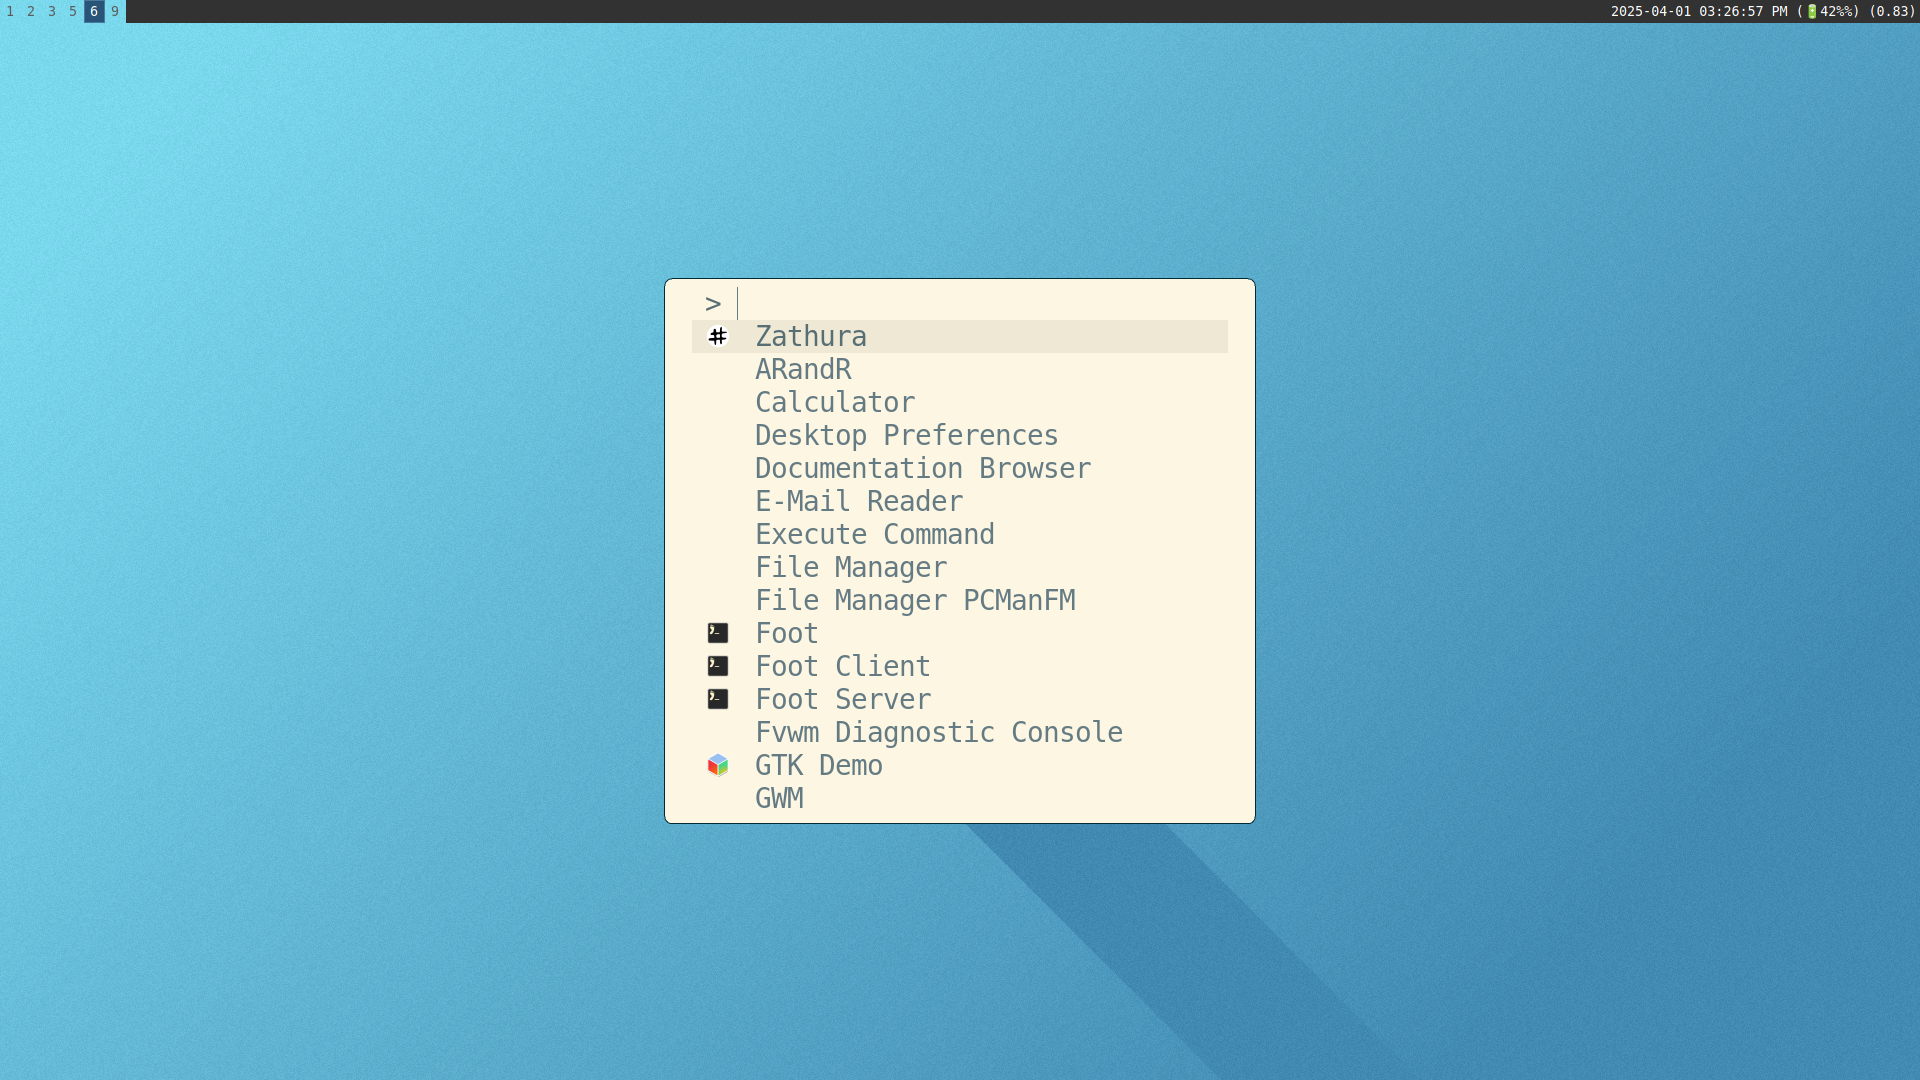
fuzzel makes a nice launcher
Emoji Support
Oh boy, now I’m really starting to lose my focus on building a focus computer. But sometimes I need to insert an emoji.
I use fuzzel-emoji which works
as an emoji picker. You’ll see that I’m maintaining this repo based on a fork
that was found on GitHub. Clone this repository and put it somewhere in your
home directory like ~/git_checkouts/fuzzel-emoji/fuzzel-emoji. I’ve edited the configuration for FreeBSD.
This requires wtype and noto-emoji. Install with pkg install noto-emoji wtype.
Bind execution of the fuzzel-emoji script like so:
bindsym $mod+Alt+e exec sh ~/git_checkouts/fuzzel-emoji/fuzzel-emoji
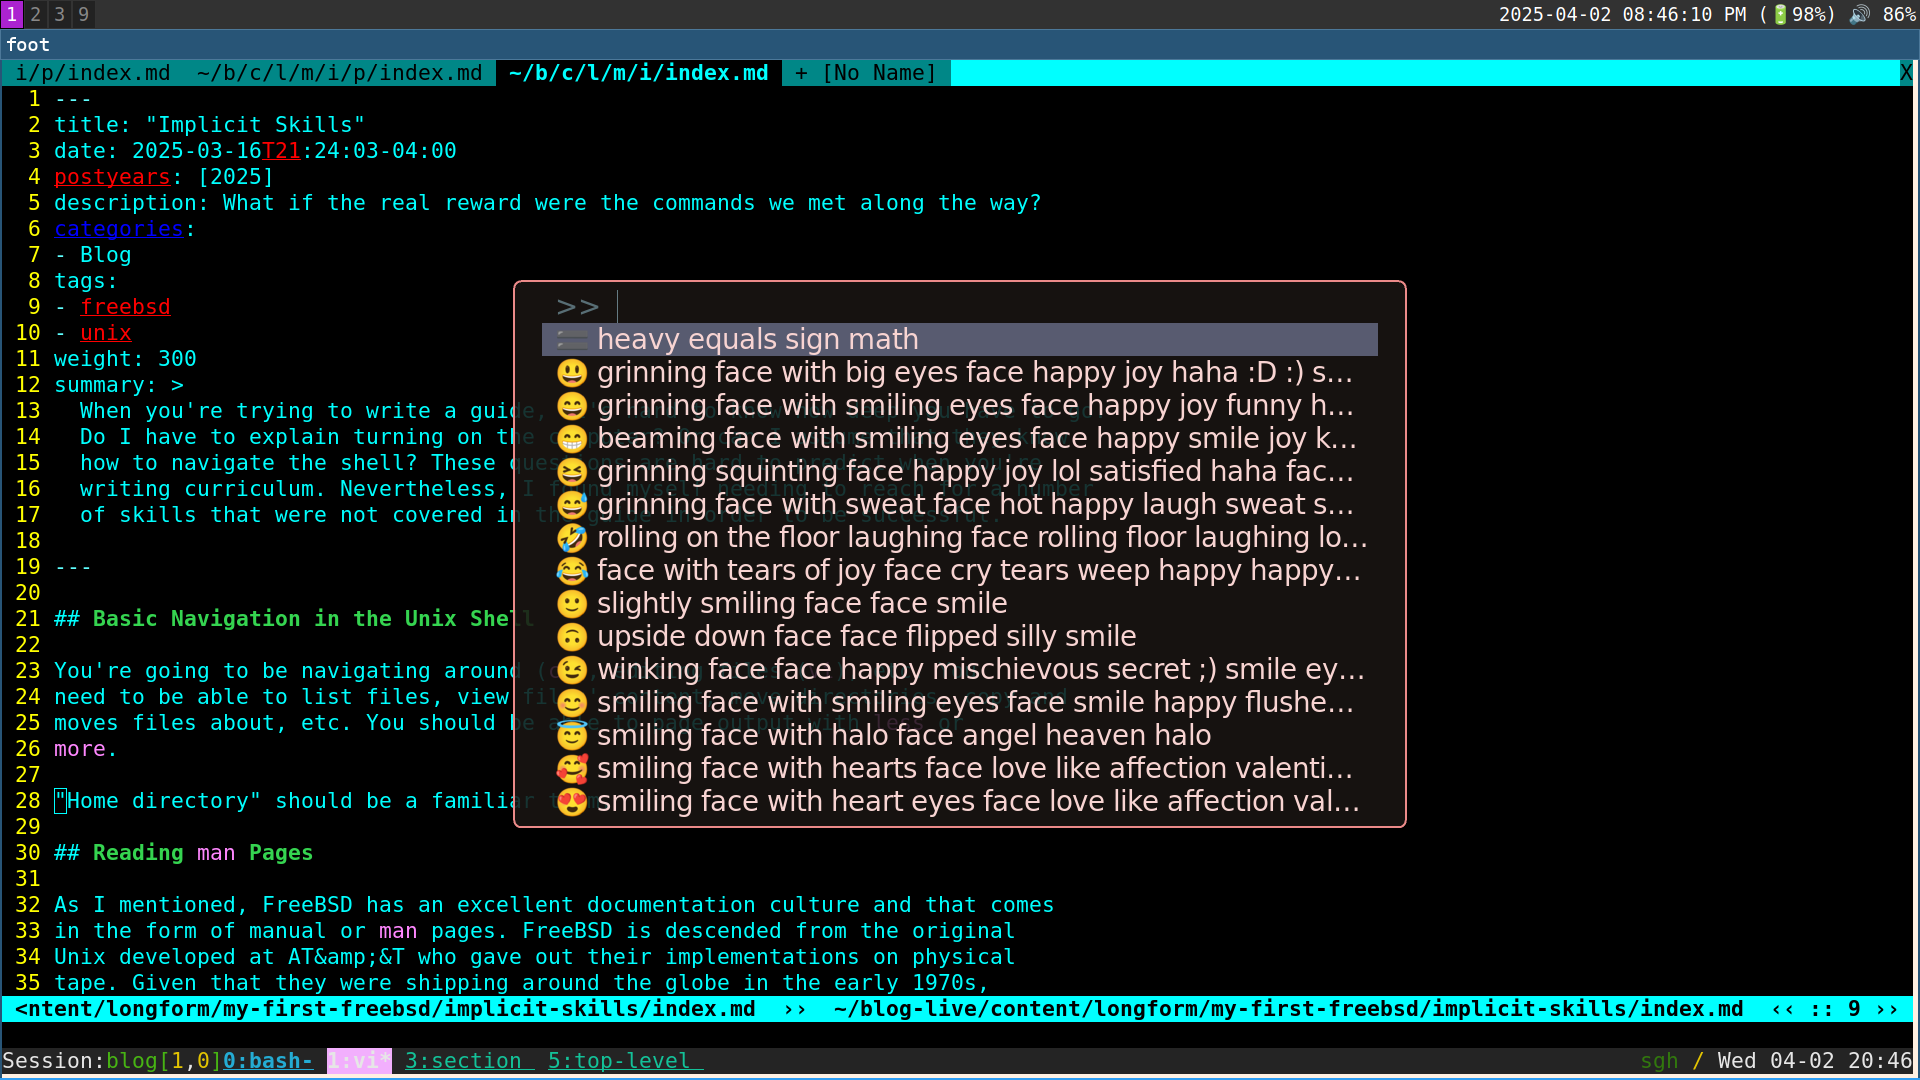
Pick some emojis
Status Bar
I need to know when my computer’s going to run out of battery! And a clock would be nice.
The sample config file gives us a pretty good start with a 1-second-interval repeating loop bit of code that adds a simple clock. I extended that slightly to be this:
# apm extracts power data, get the percentage
result=$(apm |grep \%|cut -d ' ' -f4|head -1)

# If mute is on, apply a "speaker-no" emoji
mute_status=""
if [ $(mixer vol.mute|cut -f2 -d=) = "on" ]; then
  mute_status="🔇 "
fi

# Convert the volume data from the mixer into a whole number
# and display it after a cool emoji speaker
pct=""
if [ -z "$mute_status" ]; then
  vol_val=`mixer vol.volume|cut -d: -f2`
  vv_pct=`echo "${vol_val} * 100"|bc -l|cut -d\. -f1`
  pct=`printf "🔊 %s%%" ${vv_pct}`
else
  pct=""
fi

# Aggregate mute|volume, volume level data into a variable
sound_status="${mute_status}${pct}"

# Get date/time
d=$(date +'%Y-%m-%d %I:%M:%S %p')

# Date, battery icon|battery level, sound summary
echo "$d (🔋${result}) ${sound_status}"

A dock, of sorts
Oh, Right: A PDF Viewer
# pkg install zathura graphics/zathura-pdf-poppler
Use fuzzel to load up zathura and read a PDF.
Oh, and some Screenshot Software
I just stole all of it from the mentioned blog post. Add this configuration
after you # pkg install grimshot. All the screenshots in this post were made
with grimshot.
# Screenshotting
# Taken from: https://llandy3d.github.io/sway-on-ubuntu/extra/#screenshots
bindsym Print exec grimshot --notify save screen
bindsym Ctrl+Print exec grimshot --notify copy screen
bindsym Shift+Print exec grimshot --notify save area
bindsym Ctrl+Shift+Print exec grimshot --notify copy area